HOME METAL DETECTING & EXPLORING FLORIDA'S PAST ABOUT CONTACT
PENTAX PHOTOGRAPHY GRAPHICS & ILLUSTRATION ART
|
MY RAW DEVELOPE USING AFFINITY PHOTO
> back
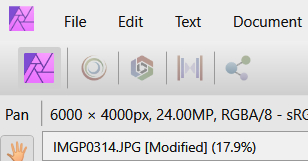
To help a friend, I laid out a simple, concise quick start for developing RAW images using Affinity Photo. Additionally, my goal was to work out some presets as a quick starting point for developing Nikon .nef Pentax .pef files. I have some Nikon presests listed below with image comparisons that I am happy with and it saves a lot by giving me a starting point from which I can make further adjustments if needed. I have not been able to satisfactorily lay out presets for Pentax .pef yet. If you have some presets to share for either the Pentax or Nikon, please do. I am getting older and my eyes are not what they used to be, so you may have some much better RAW adjustments using Affinity than mine. Click here for more image comparisons with a side by side slider. This will help you make sense of working in Afinity Photo. In the upper left corner are 5 icons from left to right are
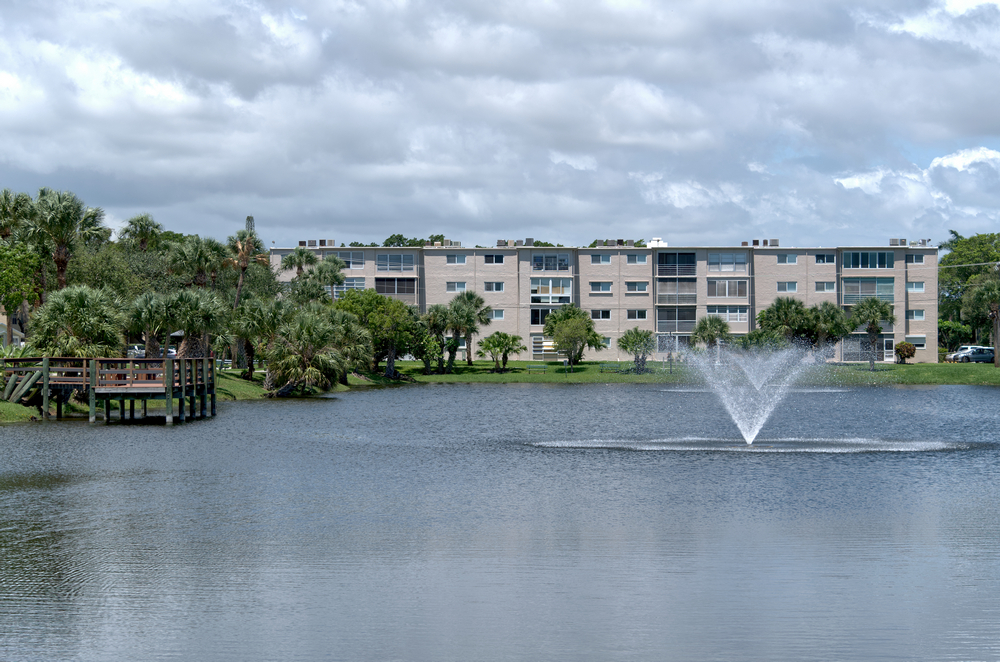
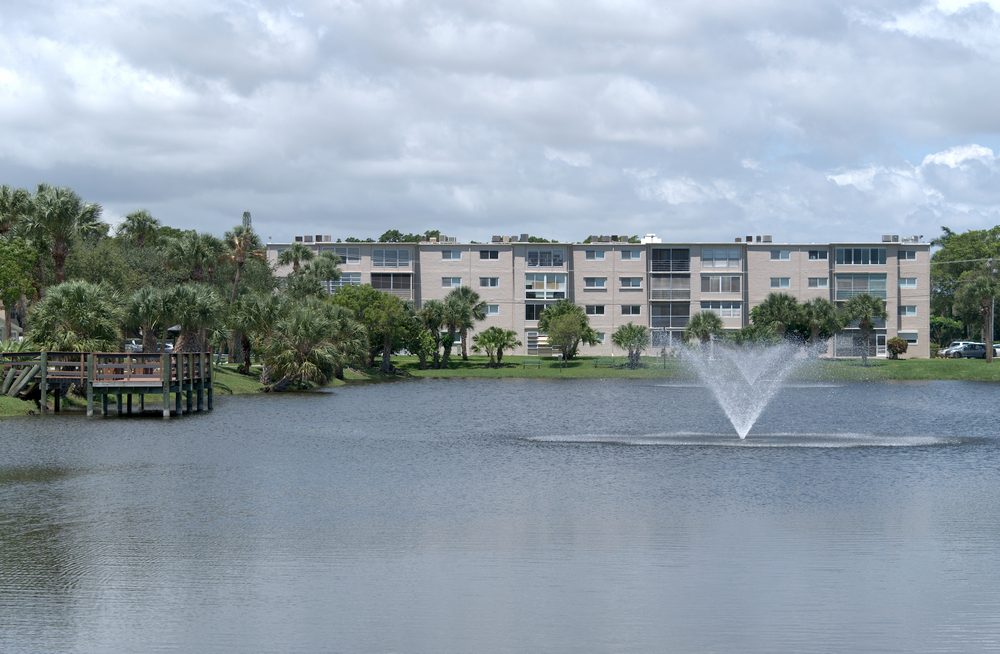
When you open a jpg it opens in the Photo Persona When you open a jpg it opens in the Photo Persona. In order to maintain non-destructive edit of your image, SAVING will prompt you to save it as an .afphoto file. Which can be infinitely edited, you can even go back in in history to undo. So, properly you open a jpg, save it as an .afphoto and go about your editing of your image till you get it the way you like using all the tools available. Save your changes (saves to .afphoto file), then... Then properly you click the Export Persona icon to begin the export to your newly named jpg or whatever document you are working on. You can determine the size, compression ratio, and more. When you open a RAW file it opens in the Develop Persona. Begin your processing in the Develop Persona. Once you are done, you can save your settings to a Custom Preset if you want. Making it easy to duplicate over and over with other images. You may have a preset for Portraits, another for landscape... etc. Muted, neutral, vivid, etc. Once you are done, CLICK the Develop button, then SAVE as an .afphoto file. From here you are now in the Photo Persona and can utilize all these new tools to customize your image, crop, straighten, b&w, sharpen, tone and more. Once it is the way you want, click final save and then move to the Export Persona to export as your final jpg under a new name if you wish. When exporting, there are resizing and compression options available as well. This will get you started. Once you are familiar with these steps, you can progress to learing the Photo Persona to super customize your images using the layers and other neat stuff. Video: SUPER EASY Way To Sharpen Your images Using Affinity Photo! Video: Affinity Photo - Sharpen Like a Pro in the LAB Colour Space 90 Affinity Photo Video Tutorials are available here. Each one is only a few minutes long and covers one aspect of image editing. SAMPLES BELOW OF MY CUSTOM PRESETS FOR NIKON Nikon D3300 Image using "Standard" in camera jpg setting unedited in any way. MY CUSTOM STANDARD FOR NIKON
My custom RAW Preset for a more pleasing Standard, which maintains rich colors Exposure 1, Black Point 2%, Brightness 10%, Contrast 0%, Clarity 30%, Saturation 5%, Vibrance 5%, Shadows 5%, Highlights 0%, Develope then sharpen, Radius 1px, Factor 1.896 MY CUSTOM NEUTRAL FOR NIKON MY CUSTOM SUB-NEUTRAL FOR NIKON My custom RAW Preset for a low saturation and color Exposure 1, Blackpoint 0% ,Brightness 0%,Contrast 2%, Clarity 5%, Saturation -30%, Vibrance -12%, Develope then sharpen, Radius 1px, Factor 1.896 |
© Grahique Du Jour (papertique)
